Category Archives: Equipment

What’s in a name? Different types of ultrasound probes

Types of Probes:

There are three main types of ultrasound probes: curvilinear, linear and phased.

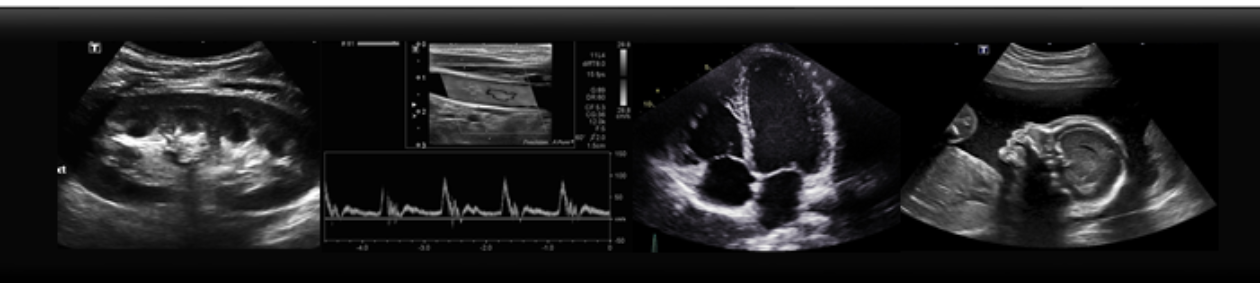
Curvilinear. This is a low frequency probe with a curved face. Typically used for abdominal, gyne, obstetrical and pleural scanning. The curved face gives and increased field of view, while the lower frequency allows for better penetration.

Linear: High frequency probe with a flat, rectangular face. Used for vascular, small parts and musculoskeletal scanning. Due to shape of probe, image is rectangular, not a curved arc. *Tip: Most units have an option to make the image widescreen, increasing the field of view.

Phased: Low Frequency rectangular shaped probe with a small face. Primarily used for cardiac scanning (echocardiography). The small face of the probe allows it to fit between ribs, but the arrangement of crystals creates a curvilinear field of view.

Image Optimization

Depth, Focus, Gain

When it comes to image quality, if you follow these easy steps for every image, you can’t go wrong! First, adjust your depth. Is the structure you are imaging, say the aorta, way at the top of the screen? Decrease your depth so your image ends just below the area of interest. Is the lower pole of the kidney cut off? Increase your depth to include a few centimeters below the kidney border.

Now that you’ve adjusted your depth, apply the focus! By tapping or twisting the focus knob, place your focal zone at or just below the structure of interest. This will place optimal resolution at the organ you want to see.

Finally, tweak the gain. Usually a dial on the main console, twist to increase or decrease the brightness of the image. Your goal: Make anechoic structures, such as vessels or the bladder black, but still bright enough to see surrounding structures.

With these three steps, your images will be picture perfect!

Select the right probe

When you’re starting out with bedside ultrasound, it’s tempting to save yourself a few seconds and use the probe that’s set as the default probe for whatever you want to scan. This is a rookie error. The reason there are different probes is that any single probe design and its corresponding frequency range represents a series of trade-offs. The biggest trade-off is between resolution and depth of view. The other is between scope (the size and shape of the sound beam) and resolution. For more depth, for example to see the back of the liver, you need a lower-frequency probe but this limits the image resolution or detail that is seen. High-frequency probes are great for detail work, for example with tendons or vessels, but have limited depth of penetration and are therefore limited to superficial structures.

With scope, the wider or more fan-shaped the beam, the lower the resolution. The higher resolution seen with linear beam arrays comes with a smaller lateral field of view or scope.

Therefore when scanning abdomens, use the low-frequency, curved probe (good depth, wide scope, lower detail). When scanning superficial structures such as vessels or for foreign bodies, use the high-frequency, linear probe (shallow depth, high detail, narrow scope). When scanning the heart use the small-footprint, wide-scope probe with the lower frequency. This allows you to get between the ribs (small footprint) and see all the cardiac chambers (greater depth) but does compromise on the detail which is an acceptable tradeoff with cardiac sonography.