Select the right probe

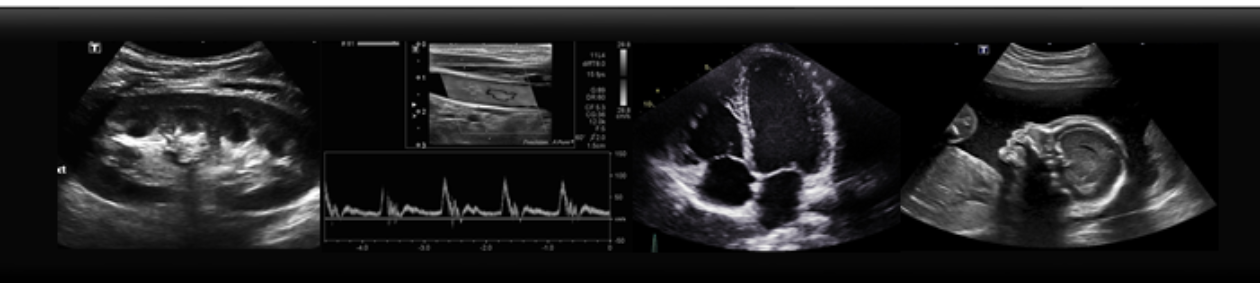
When you’re starting out with bedside ultrasound, it’s tempting to save yourself a few seconds and use the probe that’s set as the default probe for whatever you want to scan. This is a rookie error. The reason there are different probes is that any single probe design and its corresponding frequency range represents a series of trade-offs. The biggest trade-off is between resolution and depth of view. The other is between scope (the size and shape of the sound beam) and resolution. For more depth, for example to see the back of the liver, you need a lower-frequency probe but this limits the image resolution or detail that is seen. High-frequency probes are great for detail work, for example with tendons or vessels, but have limited depth of penetration and are therefore limited to superficial structures.

With scope, the wider or more fan-shaped the beam, the lower the resolution. The higher resolution seen with linear beam arrays comes with a smaller lateral field of view or scope.

Therefore when scanning abdomens, use the low-frequency, curved probe (good depth, wide scope, lower detail). When scanning superficial structures such as vessels or for foreign bodies, use the high-frequency, linear probe (shallow depth, high detail, narrow scope). When scanning the heart use the small-footprint, wide-scope probe with the lower frequency. This allows you to get between the ribs (small footprint) and see all the cardiac chambers (greater depth) but does compromise on the detail which is an acceptable tradeoff with cardiac sonography.

Practice needle procedures

Practice your needle procedures on a home-made phantom. You can do it over and over again until you are really good at them and without hurting anyone. This sounds crazy and so very few people do it. Hence, very few get really good at needle guided procedures. This is exactly why you should do this. For a cool video on making a home-made ultrasound phantom for this purpose check out this link from Clarius.

Optimize your image constantly – Focus

The resolution of the image generated by the ultrasound beam is not the same across all depths. The sound waves emitted from the crystal array in the probe can be focussed electronically at a level of your choosing, which you should adjust to the level of the organ of interest. This maximizes the resolution of the image at that depth. You should alter the focus level continuously during scanning as your target organ changes in depth.

When using ultrasound to guide needles in patients (for example when inserting a central line), set your focus at the level of your needle and not at the level of the target vessel. This will help you see the position of your needle more clearly.

Optimize your image constantly – Gain

As you scan, structures of interest may dive deep in the body and will appear darker. You should increase the 2D gain control to compensate and keep your image bright enough to see clearly. When the structure becomes more superficial, you may need to decrease the gain to avoid a “white-out” of the structures of interest. Try and maintain your image in the middle of the grey scale to help different structures stand out from one another. This is called “maintaining image contrast”.

Some newer machines have an “auto-optimize” button which automatically adjusts the gain and maintains image contrast. You should push this button regularly during scanning and always after you change the depth of view.

Optimize your image constantly – Depth of view

To get the best image quality, keep adjusting the depth of view as you scan.

As you move the probe over the patient, the organ or structure of interest will be constantly varying in depth on the screen and you want to keep this structure filling as much of the screen as possible to help you see the detail. Setting the depth too large results in shrinking the target structure to a small strip at the top of the screen while the lower screen displays useless information. Try getting into the habit of maximizing your screen resolution by filling your screen with the target.

Look after your scanning arm

Ultrasound scanning is hard on your wrist, shoulder and elbow. Make good ergonomics a habit. Get the patient to shuffle over towards your side of the stretcher or bed. Adjust the machine console and screen height to eye level. Lower the bed if you can so that you are sitting or standing above your patient, working down and across rather than reaching up and over while you scan. To save you leaning and reaching over to your patients left side, get the patient to roll towards you partly onto their right side. Be kind to yourself.

Why habit trumps motivation

Learning ultrasound takes a long time. Motivation is great for getting started but it wears off after time. Thankfully there is a way to keep going and achieve our goals and that is by forming a habit.

By practising ultrasound regularly and building it into your daily work routine, habit takes over after a few weeks and actually prompts you to do it.

While you scan, get into the habit of always optimizing your image: depth, focus, gain and it will soon become automatic.

Our habits are far more powerful than we realize. They often hold us back from learning but we can actually hack into this power and use them to reach our goals.

“People do not decide their futures, they decide their habits and their habits decide their futures”

F.M. Alexander

Bringing ultrasound to the bedside